
Swabbing Procedures
Swabbing Procedures
Everything you need to know about swabbing from the experts’ point of view
October 13, 2017
Why Swab?
Bacteria are very small, so small we cannot see them with the naked eye. So plant, equipment, hands, etc. can all look “clean” but may still harbour dangerous organisms which you need to keep away from your product.
Swabbing collects these unseen dangers and the lab can grow them up to a detectable level. If the lab returns a positive or found result you know where you must concentrate your cleaning efforts, if the lab says negative or none found you have proven our cleaning practices are working.
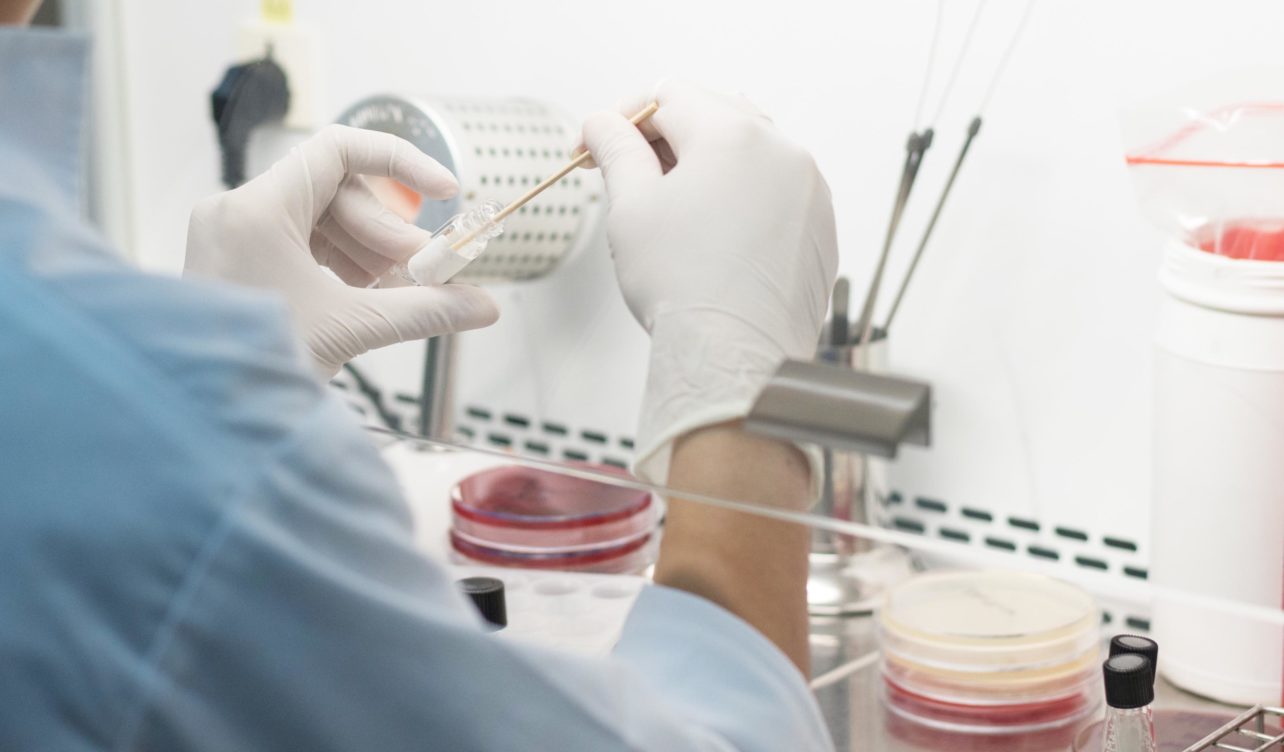
What is swabbing?
Swabbing is the act of wiping a sterile swab, these can be conventional cotton bud tipped swabs or a larger sized sponge style, across the surface of something which appears clean. The swabs should be moistened with an appropriate neutralising liquid to inactivate any residual disinfectant which may be on the item being tested.
Sterile swabs should be supplied to you from the laboratory. Make sure the lab provides swabs that are food factory safe, i.e. blue tops or blue sponges. This makes it easy to control foreign body risks. Should a part of the swab get “lost” during the swabbing activity the plastic or sponge is easily seen and recovered.
How to swab for maximum outcome
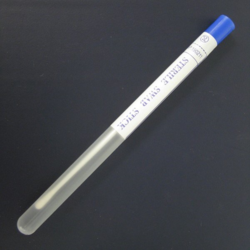
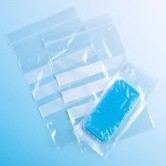
There are two basic types of swabs a stick swab (picture A) and a spongy swab (picture B). Your lab may supply you, ones that are not exactly like the ones pictured below but they should be similar, i.e. one is cotton topped swab on a stick and the other has a much larger blue sponge in it.
Picture A: Stick swab for enumeration test
Picture B: Sponge swab for presence/absence tests
The stick swab should be used for enumeration tests, like TVC, Enterobacteriaceae, E coli, Staphylococcus aureus, Pseudomonas and Coliforms (any test you are expecting a number from). It is best to prepare the swabs before entering the factory. As you will have some packaging left over which should be discarded and you do not want to increase the risk of foreign body contamination. The swab must be wetted in the transfer solution prior to swabbing the area.
The most important thing to remember when swabbing for an enumeration test is to be consistent. Either by using a 10 by 10cm template on a flat surface or ensuring the exact area is described to the laboratory, e.g. knife blade, door handle, filter door, etc. so the next time these areas are swabbed the exact same area is tested again.
Replace swab into its container with the neutralising liquid. Clearly label (numbers are best with an accompanying written instruction, a piece of paper that should be kept by the lab so that everyone can refer to it later if any questions arise).
For the sponge swab, this is used to detect pathogens (the bacteria which make us sick) and where you do not need a number – just simply present or not present. In this case, it is best to swab as much area as possible, ensuring all the nooks and crannies are well scrubbed with the swab. Again, the swab must be clearly labelled using an indelible marker – numbers are easiest for everyone to decipher and reduces the likelihood of errors.
Special note stick swabs can be used for detecting pathogens in certain situations, but never ask for a presence absence test alongside an enumeration test from the same swab – it’s not good science.
And a final note, get the swabs to the laboratory as quickly as possible. For most tests, the same day is best but in exceptional circumstances 24 hours is acceptable, if longer times between sampling and testing are required special validation work will need to be done first.
If you would like to download our generic swab submission form click here.