Legionella sample size reporting requirements

Back

Why reporting in actual sample size tested is best practice.

November 7, 2017

This article explains Legionella sample size reporting requirements. Laboratory test reports all have to comply with ISO 17025 requirements for reporting results. Some of the requirements include having a unique identifier (the lab number), citing the receipt and test date, providing a unique description of the sample submitted and in the case of water testing the date the sample was taken. Also if any additional information about the sample’s state should be reported, e.g. incorrect temperature, damaged container etc.

This is all before we actually give a result. When reporting the result, it is important that a method reference is provided, and the units of the result is given. For an example see report below.

This is an excellent example for reporting legionella, we know the lab number, when they received the sample, when they tested it, what the sample was, we know there was nothing unusual with the sample when it arrived at the lab or nothing untoward happened during the test which followed method \001. It also tells us the limit of detection for the test which is very useful for the end user to know as providing only the result “none found” in 1 litre does not tell us how many could be there but remain undetected due to the limits of the test.

It is a requirement of the ISO 11731: Water quality — Enumeration of Legionella, to report the volume of water tested. From this report we should be satisfied that a litre of sample was tested. It has happened in the past that laboratories would sample a smaller volume than 1 litre and make a correction up to 1 litre. This is not allowed in the ISO method and is not accepted by UKAS as valid.

Should your laboratory have to test a smaller volume, say 500 ml or less, the accredited result would be for example None Detected in 500ml or 100 cfu in 500ml. When judging against criteria set out in the various HSG and HTM documents the best you can do is multiply the result by a correction factor. In the case of a 500ml sample the correction factor would be 2. But be aware the calculated result (from the example provided 200 ml in 1litre) will not be the accredited result. However, when necessary it provides you a guideline to judge what corrective actions would be appropriate.

Best practice is if you want a result in 1 litre get 1 litre of water tested, when this is not possible you can make an adjustment for risk assessment, but should the result be challenged the adjusted result will not be the valid result in a court of law.


\001  – this is the number which should match the reference on the lab’s scope of accreditation

HSG – Health and Safety Executive Safety Guidance Documents

HTM – Department of Health – Health Technical Memorandums

ISO 17025 – General Requirements for the Competence of Testing and Calibration Laboratories

TVC, ACC, APC

Back

TVC, ACC, APC what’s the difference?

October 27, 2017

If you’re not a microbiologist and you have to deal with microbiology reports to do your job, you might feel you are bogged down a little with a lot of jargon including TVC, ACC and APC, but what’s the difference? Here are just a few definitions of those acronyms we love to use at Express Micro Science!

First off cfu – this stands for colony forming units. You might think we would just say bacteria, but that would be slightly misleading as all the bacteria in your sample may not be able to form its own colony of offspring. Colonies, are what we can see on the plate – a single bacteria we cannot. For trending and reporting your results to others use cfu, to look smart, but realise it is pretty much the number of single bacteria which were in a (g) which stands for gram of your product.

Next one:  One of the most common tests is the number of aerobic bacteria (those bacteria who multiply in the presence of oxygen) and who grow best at 30C. Different labs have different acronyms for this group of bacteria. Here at Express Micro Science we use TVC (total viable count) but other common terms are APC (aerobic plate count) and ACC (aerobic colony count).

They are all reporting on pretty much the same thing, the TVC term (Total Viable Count) comes from the principle explained in the second paragraph. That only bacteria capable of forming colonies (or viable enough to form a colony) are being reported.

ACC is short for aerobic colony count, so incorporates both criteria that the bacteria being reported grow in the presence of oxygen and are capable of forming colonies.

The APC term stands for aerobic plate count, but again is interchangeable with the others.

Other terms used more historically are Standard Plate Count, Mesophilic Count or Total Plate Count these too generally refer to aerobic bacteria able to grow at average temperatures (e.g. 30 to 40°C). The exact temperature used by the lab should always be stated within the final report (e.g. TVC @ 30°C, or ACC @ 37°C, etc.).

I hope that helps, if you have any further questions feel free to give the lab a call to discuss.


Testing, testing!

Back

A 1, 2, 3 in microbiological methods of testing

October 20, 2017

  1. ISO methods
  2. ELISA testing
  3. PCR – or DNA testing

There are many methods for Technical Managers to choose from when they need microbiological testing done. This can be confusing, particularly, when you only partially sure you know the difference between a TVC and a Bacillus let alone an Enterobacteriaceae and a Coliform.

But understanding what method your laboratory is using is important and some basic knowledge and key questions should be answered before sending your samples away for testing.

The existence of microorganisms came to light when people realised things could go out of thin air under the right conditions. This is kind of the basis of what microbiologists call cultural methods. Cultural methods allow microbiologists to see the bacteria with the naked eye. Some clever researchers realised different bacteria like different nutrients and have varying resistance to some key compounds – this allowed them to select the growth of particular bacteria over others and ultimately the development of standard methods. Many of these methods have been around for many decades and are recognised Internationally. They are usually the basis for ISO methods.

1. ISO Methods

So what’s so good about ISO methods?

a. They have international recognition so the result is highly defensible in court
b. Laboratories using an ISO method should have comparable results to other labs using the same method
c. They only report viable bacteria, and generally it’s the viable bacteria which cause us humans problems
d. They are generally quite cheap, as the materials and equipment required is not very specialised.

But what are the catches?

a. They are slow…. Sometimes very slow, 4 to 5 days to a result is not unusual
b. They require a fair skill level from the microbiologists as identifying certain bacteria depends on colony morphology.

2. ELISA methods?

In the 1970’s a different way of detecting the presence of certain bacteria developed. The technology came to be known as ELISA (which stands for enzyme linked immunoassay sandwich assay). It is now commonly used to detect Salmonella and Listeria, but can be used for other bacteria as well. Unlike cultural methods which detects the live bacterium, ELISA looks for distinguishing proteins within the cell. Every living being in the world makes its own unique proteins. These have been isolated from certain bacteria and the method links to these proteins causing a reaction which can be measured.

So why use ELISA methods?

a. The two best reasons are their pretty cheap and fast
b. Highly skilled microbiologists are not needed for most of the method
c. It is highly automated to reduce human interactions

But why wouldn’t I?

They are prone to false positives, which isn’t too big of a problem, because when a presumptive positive is detected the method reverts to cultural method to confirm (so really it is only fast if there is a true none found)

a. Just as the methodology is susceptible to false positives there is the possibility of a false negative, which is a much bigger problem as this won’t get caught at a later stage
b. It cannot handle enumeration tests like TVCs

3. PCR Testing

Even more recently (from early 1990s) a new methodology became common. The science behind this test method is detecting the DNA of the target organism. Much like finding the murderer by matching their DNA, PCR (polymerase chain reaction) testing can detect bacteria by looking for specific DNA sequences unique to the bacterium.

The best things about PCR testing?
a. It is fast very fast – most results are ready within 8 to 24 hours
b. It is extremely specific and sensitive

And the worst?
a. It’s expensive
b. It can detect both viable and non-viable bacteria which gives microbiologists problems as it is not always consistent with other traditional methods
c. If you want an enumeration (i.e., a number of cells rather than presence/absence result) it is difficult to translate the genome units which the PCR reports into colony forming units the standard reporting unit of the gold standard cultural methods

Summary

There are several choices to make when having your products and samples tested.
Headed for a fight? Use an ISO method, you will have to wait a little longer but the result is solid and can be defended in court and is directly comparable to other labs using the same ISO method.
Need routine monitoring, and generally are expecting nothing to be there? Elisa is a good choice for you – it is fast and inexpensive but make sure it is sensitive to all the bacteria which may be present in your samples
Need a believable answer as fast as possible to get your factory or building operational again? PCR is your answer, you will pay a pretty penny for the test but it will help you solve your problem quickly.

Swabbing Procedures

Back

Everything you need to know about swabbing from the experts’ point of view

October 13, 2017

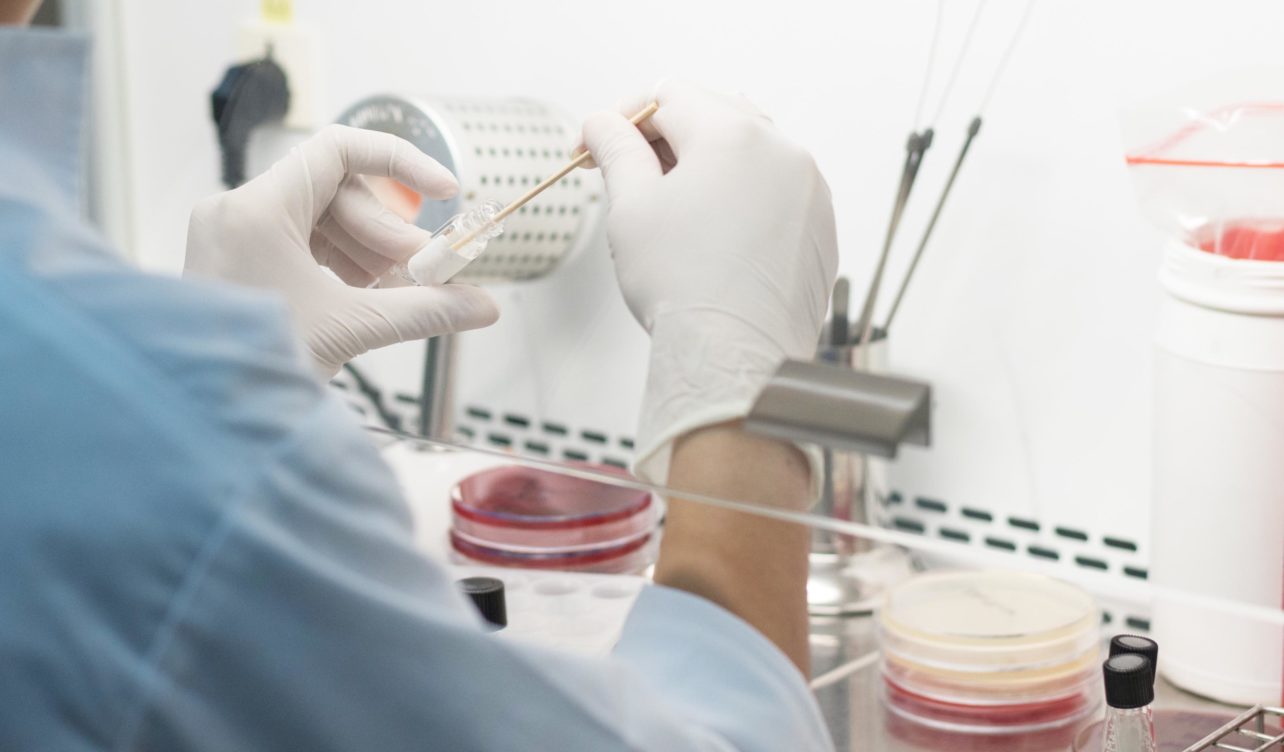
Scientist at work

Why Swab?

Bacteria are very small, so small we cannot see them with the naked eye. So plant, equipment, hands, etc. can all look “clean” but may still harbour dangerous organisms which you need to keep away from your product.

Swabbing collects these unseen dangers and the lab can grow them up to a detectable level. If the lab returns a positive or found result you know where you must concentrate your cleaning efforts, if the lab says negative or none found you have proven our cleaning practices are working.

What is swabbing?

Swabbing is the act of wiping a sterile swab, these can be conventional cotton bud tipped swabs or a larger sized sponge style, across the surface of something which appears clean. The swabs should be moistened with an appropriate neutralising liquid to inactivate any residual disinfectant which may be on the item being tested.

Sterile swabs should be supplied to you from the laboratory. Make sure the lab provides swabs that are food factory safe, i.e. blue tops or blue sponges. This makes it easy to control foreign body risks. Should a part of the swab get “lost” during the swabbing activity the plastic or sponge is easily seen and recovered.

How to swab for maximum outcome

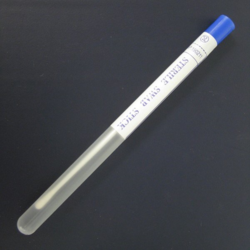
There are two basic types of swabs a stick swab (picture A) and a spongy swab (picture B). Your lab may supply you, ones that are not exactly like the ones pictured below but they should be similar, i.e. one is cotton topped swab on a stick and the other has a much larger blue sponge in it.

Picture A: Stick swab for enumeration test

Picture B: Sponge swab for presence/absence tests

The stick swab should be used for enumeration tests, like TVC, Enterobacteriaceae, E coli, Staphylococcus aureus, Pseudomonas and Coliforms (any test you are expecting a number from). It is best to prepare the swabs before entering the factory. As you will have some packaging left over which should be discarded and you do not want to increase the risk of foreign body contamination. The swab must be wetted in the transfer solution prior to swabbing the area.

The most important thing to remember when swabbing for an enumeration test is to be consistent. Either by using a 10 by 10cm template on a flat surface or ensuring the exact area is described to the laboratory, e.g. knife blade, door handle, filter door, etc. so the next time these areas are swabbed the exact same area is tested again.

Replace swab into its container with the neutralising liquid. Clearly label (numbers are best with an accompanying written instruction, a piece of paper that should be kept by the lab so that everyone can refer to it later if any questions arise).

For the sponge swab, this is used to detect pathogens (the bacteria which make us sick) and where you do not need a number – just simply present or not present. In this case, it is best to swab as much area as possible, ensuring all the nooks and crannies are well scrubbed with the swab. Again, the swab must be clearly labelled using an indelible marker – numbers are easiest for everyone to decipher and reduces the likelihood of errors.

Special note stick swabs can be used for detecting pathogens in certain situations, but never ask for a presence absence test alongside an enumeration test from the same swab – it’s not good science.

And a final note, get the swabs to the laboratory as quickly as possible. For most tests, the same day is best but in exceptional circumstances 24 hours is acceptable, if longer times between sampling and testing are required special validation work will need to be done first.

If you would like to download our generic swab submission form click here.